Pumpkin Pancakes

This season ushers in my love for all things pumpkin!

Pumpkin patch

Pumpkin spice

Pumpkin decorations

Pumpkin desserts

Pumpkin pancakes!
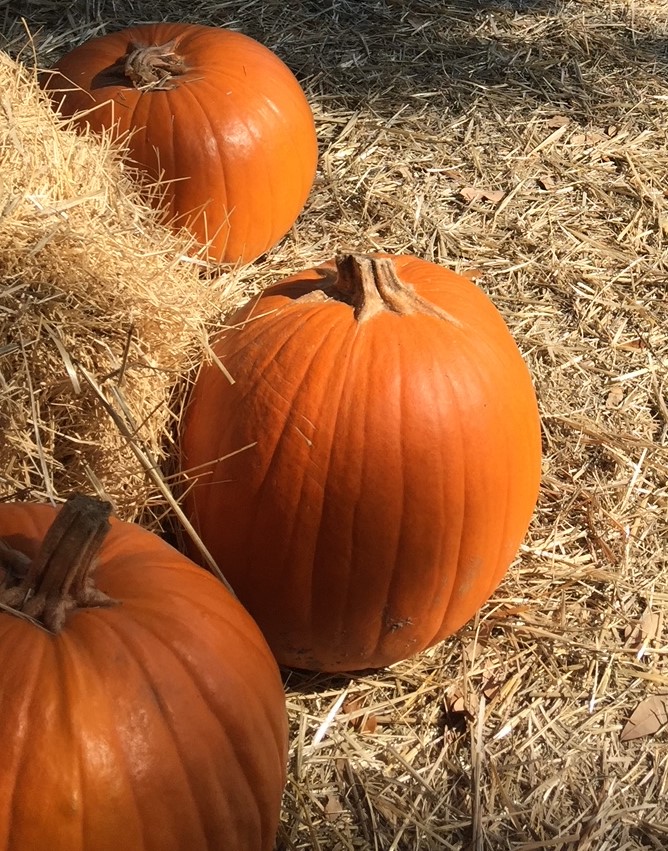
I can’t believe I waited until mid October before I started incorporating pumpkin in my recipes. This morning, I made pumpkin pancakes for my family. It’s basically my pancake recipe with pumpkin puree and additional spices. When you see pumpkin puree added to the shelves of your grocery store, consider making this breakfast.

Pumpkin Pancakes

Ingredients

  • 1 cup flour
  • 1 Teaspoon baking powder
  • Cinnamon
  • All spice or Pumpkin spice
  • Nutmeg
  • 1 Egg
  • 3/4 cup of Milk (Add more milk if consistency isn’t what you want)
  • 1/2 can of Pumpkin puree (equivalent of 7.5 oz)
  • Maple syrup
  • Butter
  • Sugar
  • Cooking spray
  • Canola oil

Directions:

  1. You will need two bowls: one for wet ingredients and the other for dry
  2. In one bowl, mix pumpkin puree, butter (tablespoon), egg, milk, and sugar
  3. In the other bowl, combine flour, baking powder, spices
  4. Make a hole in the center of the dry ingredients bowl and add the wet ingredients. Add more milk if you don’t like the consistency.
  5. I cooked some of the pancakes on the griddle and others in a skillet. For the skillet, add nonstick cooking spray and a little canola oil to your pan. I use a measuring cup to make my pancakes the same size.
  6. When the sides brown, use a pancake turner or spatula to flip your pancake.
  7. When done, set off to the side and repeat the previous steps 5 – 6

Toppings

I love pouring warm maple syrup on my pancakes. Since maple syrup has a lot of sugar, I’ve sought out alternatives. I found other brands that combine maple and honey and have less sugar. These maple and honey syrups have actually become a favorite for my family.

Other fun toppings you might like are whipped cream, butter, nuts, powdered sugar, pumpkin seeds, or fruit.

Perfect combo

Pancakes and turkey bacon go together like burgers and fries. Seriously, nice crispy turkey bacon is a great add-on when making pancakes.

You could pair your pancakes with sausage, fruit, eggs, or just eat them without the extras.

Dining with Lamesha

You can see a demonstration of me making these pumpkin pancakes on Instagram. What other fall recipes would you like to see on my blog?

xo

Lamesha

What I Learned During the Blogging Challenge

Since the sixth of July, I have blogged every weekday. That’s twenty blogs! In this post, I will detail some of the things that I learned during the July blogging challenge.

Blogging is Alive

Since joining this challenge, I have read more blog posts from other bloggers and influencers. I usually read entertainment blogs and writing advice blogs, but I have enjoyed reading posts from various niches. It’s nice to see that people will venture from social media and still read blog posts. One of the fears about starting a new blog is that no one will read the posts. I’ve learned during this challenge that people will read blogs even if they can’t relate to the topic.

Consistency

Consistently posting blogs helped erase the fear of writing blog posts. If I could post one blog, I could post two and so forth. I enjoyed writing shorter posts that’s less than 500 words. This allowed me time to work on my book. Since I am a stay-at-home mom, I only have a small amount of time that I can dedicate to my writing each day. But consistently posting has helped me get better with blogging.

Tell Someone

There were days that I forgot to update my social media friends that I’d posted a new blog. The good thing is that these words will not expire. I can still post about what I’ve written.

Learn New Things

I’ve learned about other apps that influencers use to create content. I look forward to trying out some of these apps to see if they will help me on my blogging journey.

What’s Next?

I will not be able to blog every day in August. With school starting soon, I will have to dedicate most of my writing time to homeschooling my son. But I have thoroughly enjoyed creating these posts.

New content will be here and on my social media profiles.

What would you like to see on my blog?

Xo

Lamesha

Family Fun

Before having kids, I decided that I didn’t want to put them on social media. I’ve considered revising this rule, especially when I see all the beautiful family photos on social media. My compromise has been a few photos here and there, and I show my son in my IG stories. I made another compromise. My son made his first appearance in this blog post!

Since we’ve been home more because of COVID-19, we have really had a chance to grow as a family. Of course, we love each other. But it’s good knowing that we actually like spending time together.

**Here are some things that we’ve been doing while home.

Reading

I love reading books and have instilled a love of reading in my son. Though he enjoys time reading his books silently or out loud, we still make an effort to read together at least once a day. I believe there are so many benefits to reading with your kids. This can help them with practicing reading with enthusiasm and it’s also a good bonding exercise.

Cooking

I love cooking with my son. My son loves getting in the kitchen and helping his dad make his grandma’s cornbread dressing recipe. He also likes to help me make smoothies, cakes, and lunch. We make it fun and find recipes that we can all do together.

Movie Night

We take turns choosing the movie for movie night. We vote on snacks and try to make the experience similar to being in the theater. My son seems to enjoy movie night the most when a movie that we’ve seen multiple times is selected.

Picnic

Try setting up an indoor or outdoor picnic. Everyone can pitch in making the food (depending on the ages of your children).

Games

Play board games or have a scavenger hunt. Make up your own family game and each person in the house can add to the rules.

Love on your family!

What family fun activities have you enjoyed this summer?

xo

Lamesha

First Day of Revisions

One week. Two weeks. In my last blog about #LameshaJuniorNovel, I mentioned that I wanted to give myself one week off and then start revisions.

Well, I decided to alter this plan. I gave myself two and a half weeks of rest. In this blog, I’ll detail why this turned out to be the best decision.

I Needed a Break

After one week, I sat at my desk and opened my manuscript. I promised to show up and that’s just what I did. I gave myself a pat on the back for keeping my promise. Procrastination wouldn’t win. Whatever was going on in the world wouldn’t stop me from completing this goal. So, I showed up and quickly realized that I was not ready to tackle my project. It’s important that I’m honest about my feelings. My gut told me that I need a break. I didn’t waver on this choice.

It’s okay to take a break.

Making Use of My Time

I created a writing schedule while working on draft 1. It was important that I did not give up this time. So, I took that time and revised my website. I hope you like all of the changes that I’ve made. I continued posting new blogs and I read some new books. Well, I started some new books but haven’t finished one yet.

Day 1

After two and a half weeks, I sat at my desk and opened my manuscript. I quickly realized that I was ready to tackle my project. Yay!

Giving myself extra time off gave me some separation from my project. It also allowed me more time to focus on other projects. I revised chapter one today. I’m looking forward to making more cuts, revisions, edits, etc.

Xo

Lamesha

My Fitness Journey: Part 1

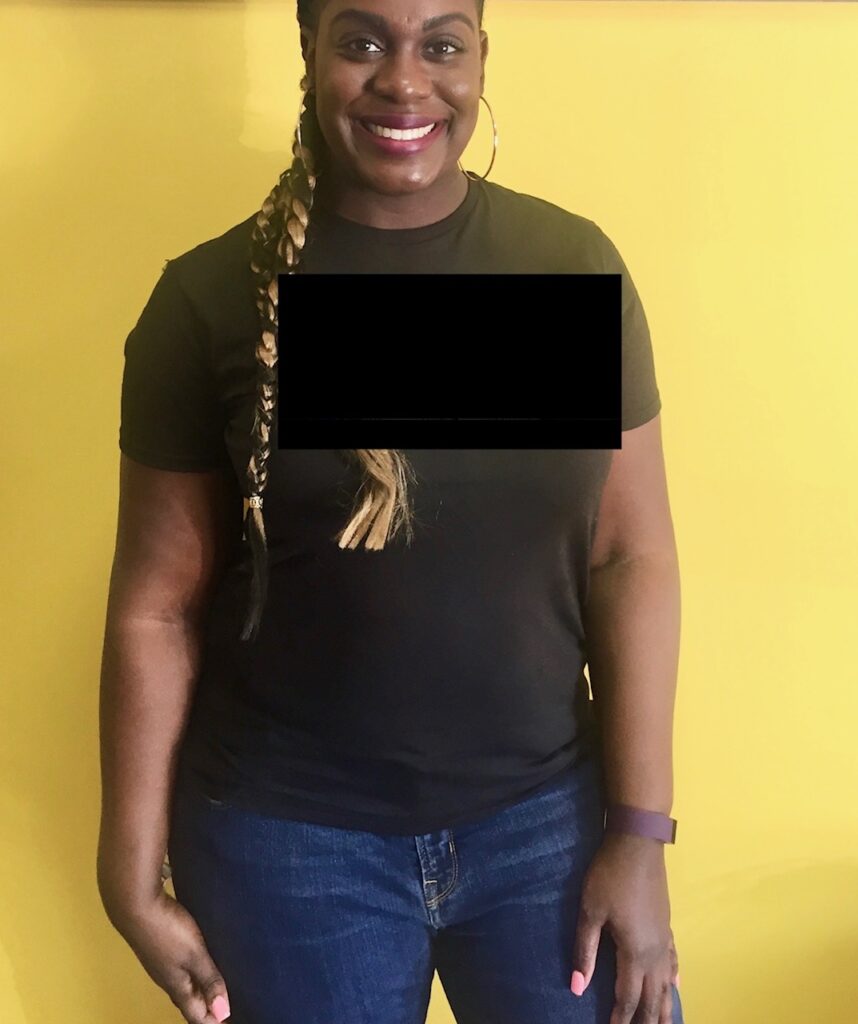
Prior to having my son, my weight stayed within a ten pound range. I wore the same sizes as my college days and could fit many outfits from high school. When I found out I was pregnant, I weighed 170 lbs. At that time, that was the most I ever weighed.

Lamesha Junior in Miami (weighing 160-165 lbs)

During my pregnancy, I gained 60 pounds, double the amount that my doctor had recommended. It wasn’t that I thought I could overindulge on a regular basis and eat whatever I wanted. At one of my prenatal visits, I was warned that I was going to eat myself into a C-section (Didn’t happen because I delivered my son vaginally). But I could not explain the weight gain. In my last trimester, I was tired, my legs would swell, and I was in pain.

I was six months postpartum when I dropped the sixty pounds that I gained while pregnant. I credit breastfeeding and portion control with helping me lose the weight.

Once I was back in my size 10 jeans, my goals were to get back to that weight range I had been my entire adult life and to get my flat stomach back. Neither happened. Over a few years, I gained 80 pounds.

When I stepped on the scale and realized that I was 250 lbs, I was shocked. I knew that I had put on some weight, but I didn’t realize that I was nearly 100 pounds heavier than I was when I graduated college. Based on my height of about 5’10”, I had a BMI (Body Mass Index) of 35.87.

Lamesha Junior in 2017 (weighing about 235 lbs)

I felt discouraged when I thought about how long it might take to lose weight. It took me a while to push past those feelings and start making small changes.

I started my weight loss journey with a positive mindset and healthy attitude about my body. Some days I did feel self-conscious about some things. When I look back on my photos at my heaviest weight, I sometimes regret my clothing choices, makeup, and hairstyles. But I love my body and shape, including my tummy.

How did I gain the weight?

Emotional eating. I was mourning along with my husband who lost his parents within a year of each other. He was devastated. I struggled with not being able to help him. During this time, we ate a lot of fried foods, desserts, and heavy meals from his childhood. We did not watch our portions and weren’t conscious of eating healthy foods.

Sedentary Lifestyle. I usually lead an active lifestyle. I dance a lot in my home. During this time, I was not working out or dancing. Music was rarely played in my home. I also was not going for walks.

More to Come

This is the first blog in my series about my weight loss journey. Follow along with the tags fitness journey or weight loss for updates.

xo

Lamesha

DIY Manicure

A few years ago, my nail tech told me about dipping powder manicures. She convinced me to give it a try by stating dipped nails could last three weeks.

Once I got my first dipping powder manicure, I was hooked. I loved that my manicure could last a few weeks instead of a few days. The process of removing dipped powder nails was fairly easy when done in the salon. I’ve even DIYed it myself several times. A few of those times my removal process was so horrible that my nail tech reprimanded me when I returned to the shop with jacked up nails.

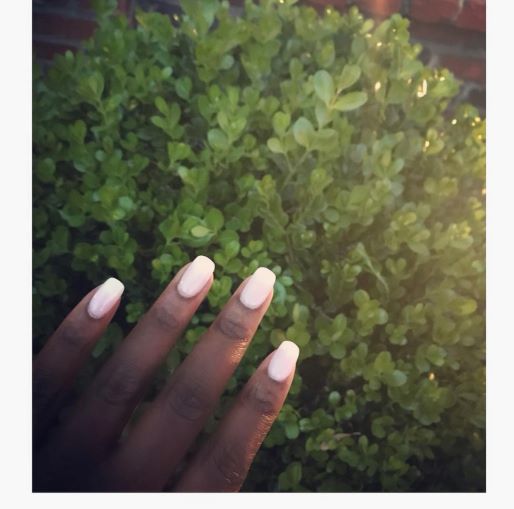
Lamesha’s dipping powder manicure

Earlier this year, I decided to return to wearing my natural nails. I still got a pedicure with bold colors but chose to only apply clear polish to my nails or get them buffed. My nail tech tried to convince me to go back to dipped nails, but I missed looking at my natural nails.

I am getting lots of practice doing my own manicure and pedicure. A few times I have cut my nails too short and other times they are uneven. But doing my own nails is actually very calming.

When our world returns to normal, I plan to return to the nail shop.

Tools for your own manicure

  • Water
  • Soap
  • Fingernail clippers
  • Fingernail file
  • Nail Buffer or polish
  • Paper towels
  • Oil such as argan or jojoba

Steps

  • Start with clean washed hands
  • Soak your nails in water
  • Dry your nails
  • Clip nails – try to not clip too low.
  • File nails in desired shape (Do your best. Remember we aren’t nail pros). Be careful with your cuticles.
  • Use a nail buffer to add shine to your nails or apply a clear vitamin nail polish
  • Apply oil of your choice. I used argan oil.
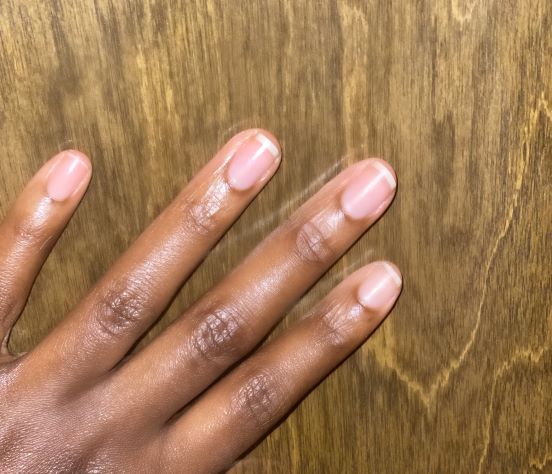
Lamesha’s manicure

Do you enjoy getting a manicure and pedicure?

Xo

Lamesha

The First Game

In honor of the NBA season coming back, I wrote a short piece. I’m a huge sports fan. A few years ago, I considered creating a sports blog.

Note: This is fiction. It’s told from the point of view of a fictional basketball player.


It had been months since I got to feel the excitement of being on the court. I sat on the bench watching my teammates. We were struggling. Coach was poised, not frustrated by the bricked shots. I looked around the gym, missing the fans.

I was ready for my teammates to do something that would garner a hand clap, shout, some display of praise. That was our role on the bench. It was even more important that we motivate our teammates without fans in the building. Finally our point guard hit a jump shot. We were vocal, loud, clapping for him like it wasn’t an easy shot.

Coach put me in the rotation at the start of the second quarter. We were down by fifteen. I never let things like that get to me though. I wasn’t a starter. But whenever I got in the game, I made the most of my minutes.

Their defenders left me open. My point guard was being double teamed. I stepped behind the line, knowing the ball would be coming to me. He tossed the sphere from the free throw line to the right wing. When the ball made it to my hands, I didn’t hesitate releasing the ball toward the hoop. Swish! I hit the first three for us.

I jogged backwards and got back on defense. My vet blocked their superstar’s basket. It was vicious. Our bench jumped up, cheering as the ball went out of bounds. That block would have got the crowd going crazy. But since we weren’t playing in front of twenty thousand fans, that play didn’t get the excitement that it deserved. We would have to wait until after the game to see the reaction on social media. They missed their next shot.

Back on offense, I got a rebound for an easy layup. Another jump shot by our point guard. Steal and then dunk by me. The momentum had shifted in our favor. We got the lead down to single digits.

Their coach called timeout. I said a quick prayer as I walked past the Black Lives Matter sign on the court to our bench.


Thanks for reading!

xo

Lamesha

Smoked Queso

I have been having a blast trying new recipes. Remembering to measure has prevented me from sharing some of my creations. But my family has enjoyed trying my new dishes.

Foodies on social media convinced me to make a loaf of banana walnut bread a few months back. And they also convinced me to try smoked queso. I watched a few viral videos to figure out how to make smoked queso. Then I decided which ingredients I wanted to add to ours.

We have made queso in our slow cooker. That was delicious. We’ve reheated the jarred version. Unfortunately, we have not found a jar of queso that tastes good. If you have any suggestions, let me know.

We decided to make the smoked queso since we already had the pit going in honor of Juneteenth. Juneteenth is a holiday that honors the end of slavery in the United States. That day we grilled the usual cookout foods and had vegetables and fruit as our sides.

Ingredients

How much you will need will depend on the size of your grill pan. Look at my video for an idea.

  • Cubed processed cheese
  • Quesadilla shredded cheese
  • Shredded pack of triple cheese
  • Diced tomatoes
  • Sauteed onions
  • Sauteed jalapenos
  • Sauteed green peppers
  • Cooked seasoned ground beef
  • Cooked breakfast sausage
  • Milk

Steps

  • Add all ingredients except milk to a grill pan
  • Put on the grill and let it smoke
  • Once cheese is melting well, add milk and stir
  • Continue to let smoke
  • When it is fully melted and the right consistency, take off the grill
  • Enjoy

Let me know if you try it out.

xo

Lamesha

Grits

A big family breakfast prepared by my husband may include grits, sausage, eggs, and biscuits. He’s a great cook, and I am thankful that he enjoys cooking for our family. Though I cook most of our meals, he does a wonderful job helping me out.


But back to the grits, we don’t prepare them the same. There was a poll on social media a few years back about the proper way to make grits. Some families make them with salt and others use sugar.

I’m a Texas girl. We add sugar, milk, and butter to our grits. He adds too much butter, salt, and pepper. I had no idea that people didn’t put sugar in their grits until we started dating. Years later, I am still shocked.

I believe his grits are the blandest thing that he has ever cooked. He says I may as well eat ice cream for breakfast if I’m going to add sugar to my grits. We joke about this all the time. Laughter is good for a healthy marriage.


The way that I feel about his grits is how he feels about my couscous. There are endless laughs whenever I place couscous on his plate.

Compromise

After joking, we eat what has been prepared.

If I prepare grits, he knows that I’m adding milk and butter. I spoon out his serving and then add sugar. If he cooks grits, I know that he won’t add milk and sugar.

While neither one of us will budge on the way we prepare grits, we do like getting feedback on other dishes that we cook. We enjoy cooking and learning from each other. I like asking his opinion about something I’ve cooked, and he does the same.

Grits- The Lamesha Way

I somewhat follow the directions on the box without measuring.

Ingredients

  • Grits
  • Milk (Almond or cows – I love both)
  • Butter
  • Water

Steps

  1. Add grits to boiling water and stir
  2. Add a little milk
  3. Cover
  4. Once thickened, add butter and 1-2 teaspoons of sugar (don’t add to much)
  5. Enjoy a nice creamy bowl of grits

Measuring


Reading my recipe is so funny! I will update this post after measuring. But I am going to leave this recipe without measurements up just for laughs.

****Updated: to include measurements.

This recipe could provide 4-5 servings.

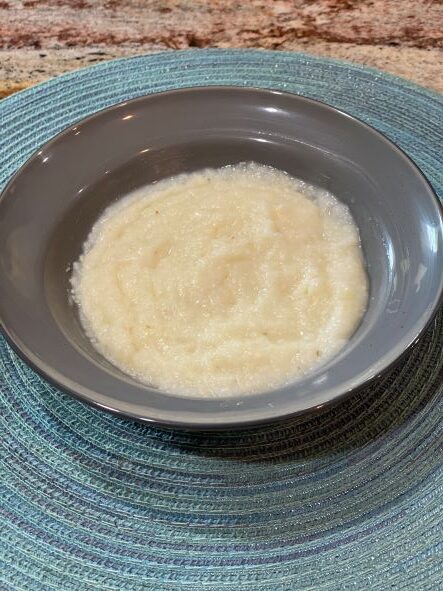
Southern Creamy Grits Lamesha’s Way

Ingredients

Creamy grits seasoned with butter and sugar
  • 1 cup Grits
  • 3 cups Water
  • 1 cup Almond Milk
  • Butter
  • Salt (optional)

Steps

  1. Add a dash of salt to water and boil
  2. Add grits to boiling water and stir
  3. Add almond milk and stir.
  4. Reduce heat to low
  5. Cover, stir occasionally. Should be ready in 3-5 minutes
  6. Once thickened, season with a teaspoon of butter and 1-2 teaspoons of sugar. That’s all that I add, but you might want more or less butter and sugar. Season to your taste.
  7. Enjoy a nice creamy bowl of grits
  8. If you let your grits sit to long, you can always add a little milk that will make them creamy again and reheat.


How do you enjoy your grits?


Xo

Lamesha

Mango Smoothie

I love making smoothies for my family. When my son was in his picky eating phase, I ensured that he got in some greens by making him a green smoothie. He still loves every combination that I’ve created.


Today’s creation features fruits that we haven’t purchased in a while.


Recipe for Lamesha’s Mango Smoothie

Ingredients

  • Frozen mango pieces
  • Frozen pieces of pineapples
  • 1 banana
  • 1 cup ice
  • Water
  • Coconut flakes
  • Chia seeds

Steps

  1. Combine first five ingredients in blender and blend
  2. Pour into glass
  3. Add coconut flakes and chia seeds
  4. Add a straw or use a spoon and Enjoy


Expect more smoothie recipes in the future!

xo
Lamesha